Want to relive the nostalgia of classic NES games on your Windows PC?
It’s easier than you might think!
In this simple 3-step guide, I’ll show you how to play your favorite NES titles on your computer in no time. Whether you’re a retro gaming fan or just curious to try, this guide will walk you through the process. Keep Reading!
Three Steps at a Glance
Step #1 To Play NES Games On Windows
The only way to play NES games on a Windows PC is by downloading an NES emulator.
The emulator I’m using in this article is FCEUX. You can download it from the official FCEUX website.
Step #2 To Play NES Games On Windows
Download the NES game ROM you want to play. Personally, I download my NES game ROMs from EmulatorGames.net.
Step #3 To Play NES Games On Windows
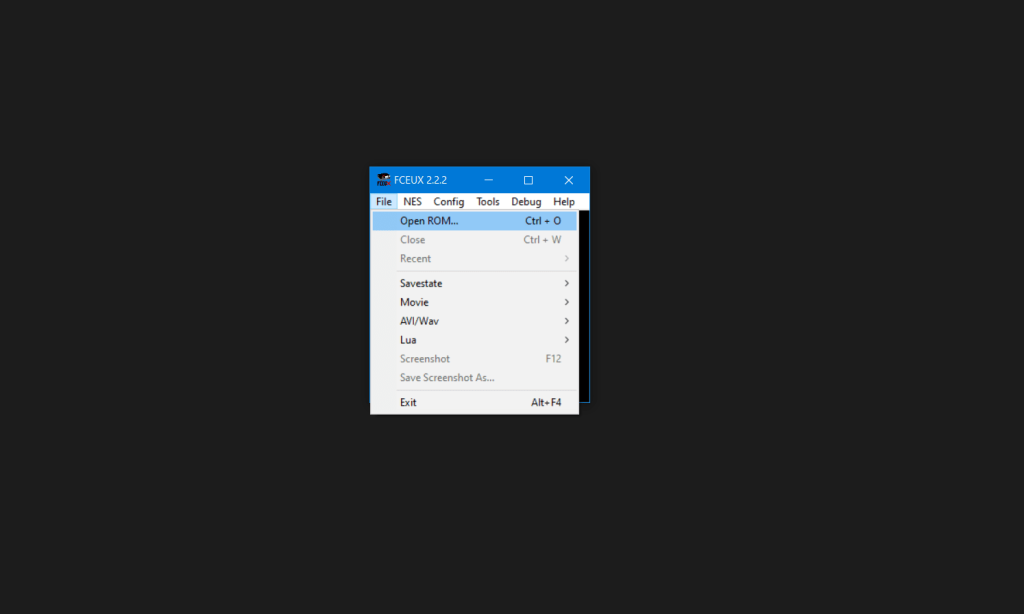
Launch the FCEUX emulator, then click ‘File’ and select ‘Open ROM.

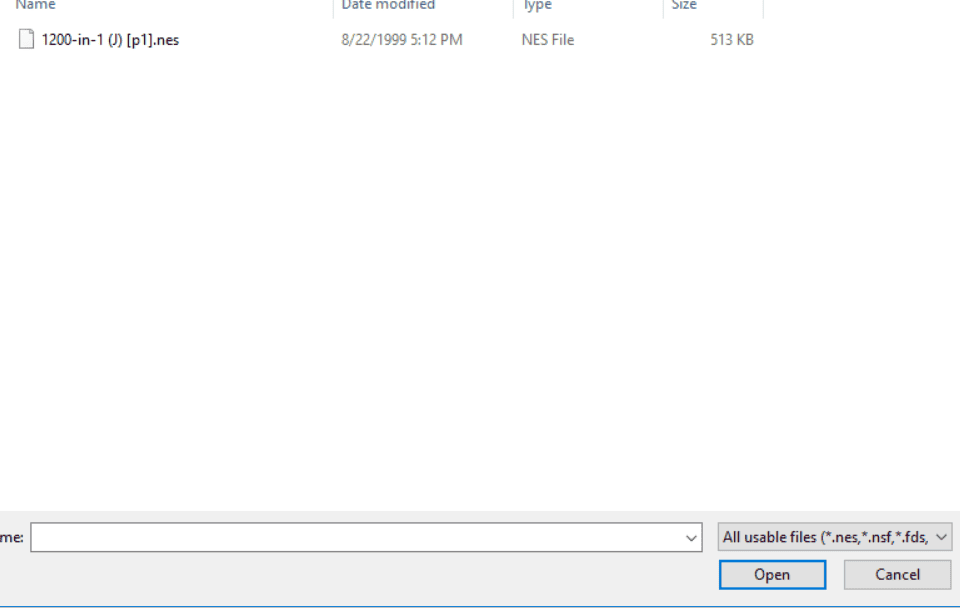
Select the game ROM you downloaded.
I downloaded the ‘1200 Games in 1’ ROM, if you remember it from back then.

Now, enjoy playing just like in the old days!
If you found this guide simple and helpful, I’d really appreciate it if you shared it with your friends!
